Guidelines for Photographing Your Diabetic Supplies
Choose a Well-Lit Area
Natural light is best. Place the items near a window, but avoid direct sunlight, which can create glares or shadows.
Use a Neutral Background
Lay down a white or light-colored cloth or paper. This will make the details of your supplies stand out without any distractions.
Capture All Angles
Front View: Clearly show any labels, brand names, or logos. Side Views: Rotate the product to capture both left and right sides. Back View: This often includes usage instructions or additional details. Top & Bottom Views: This is especially important for items like boxes or containers with printed information.
Zoom in on Important Details
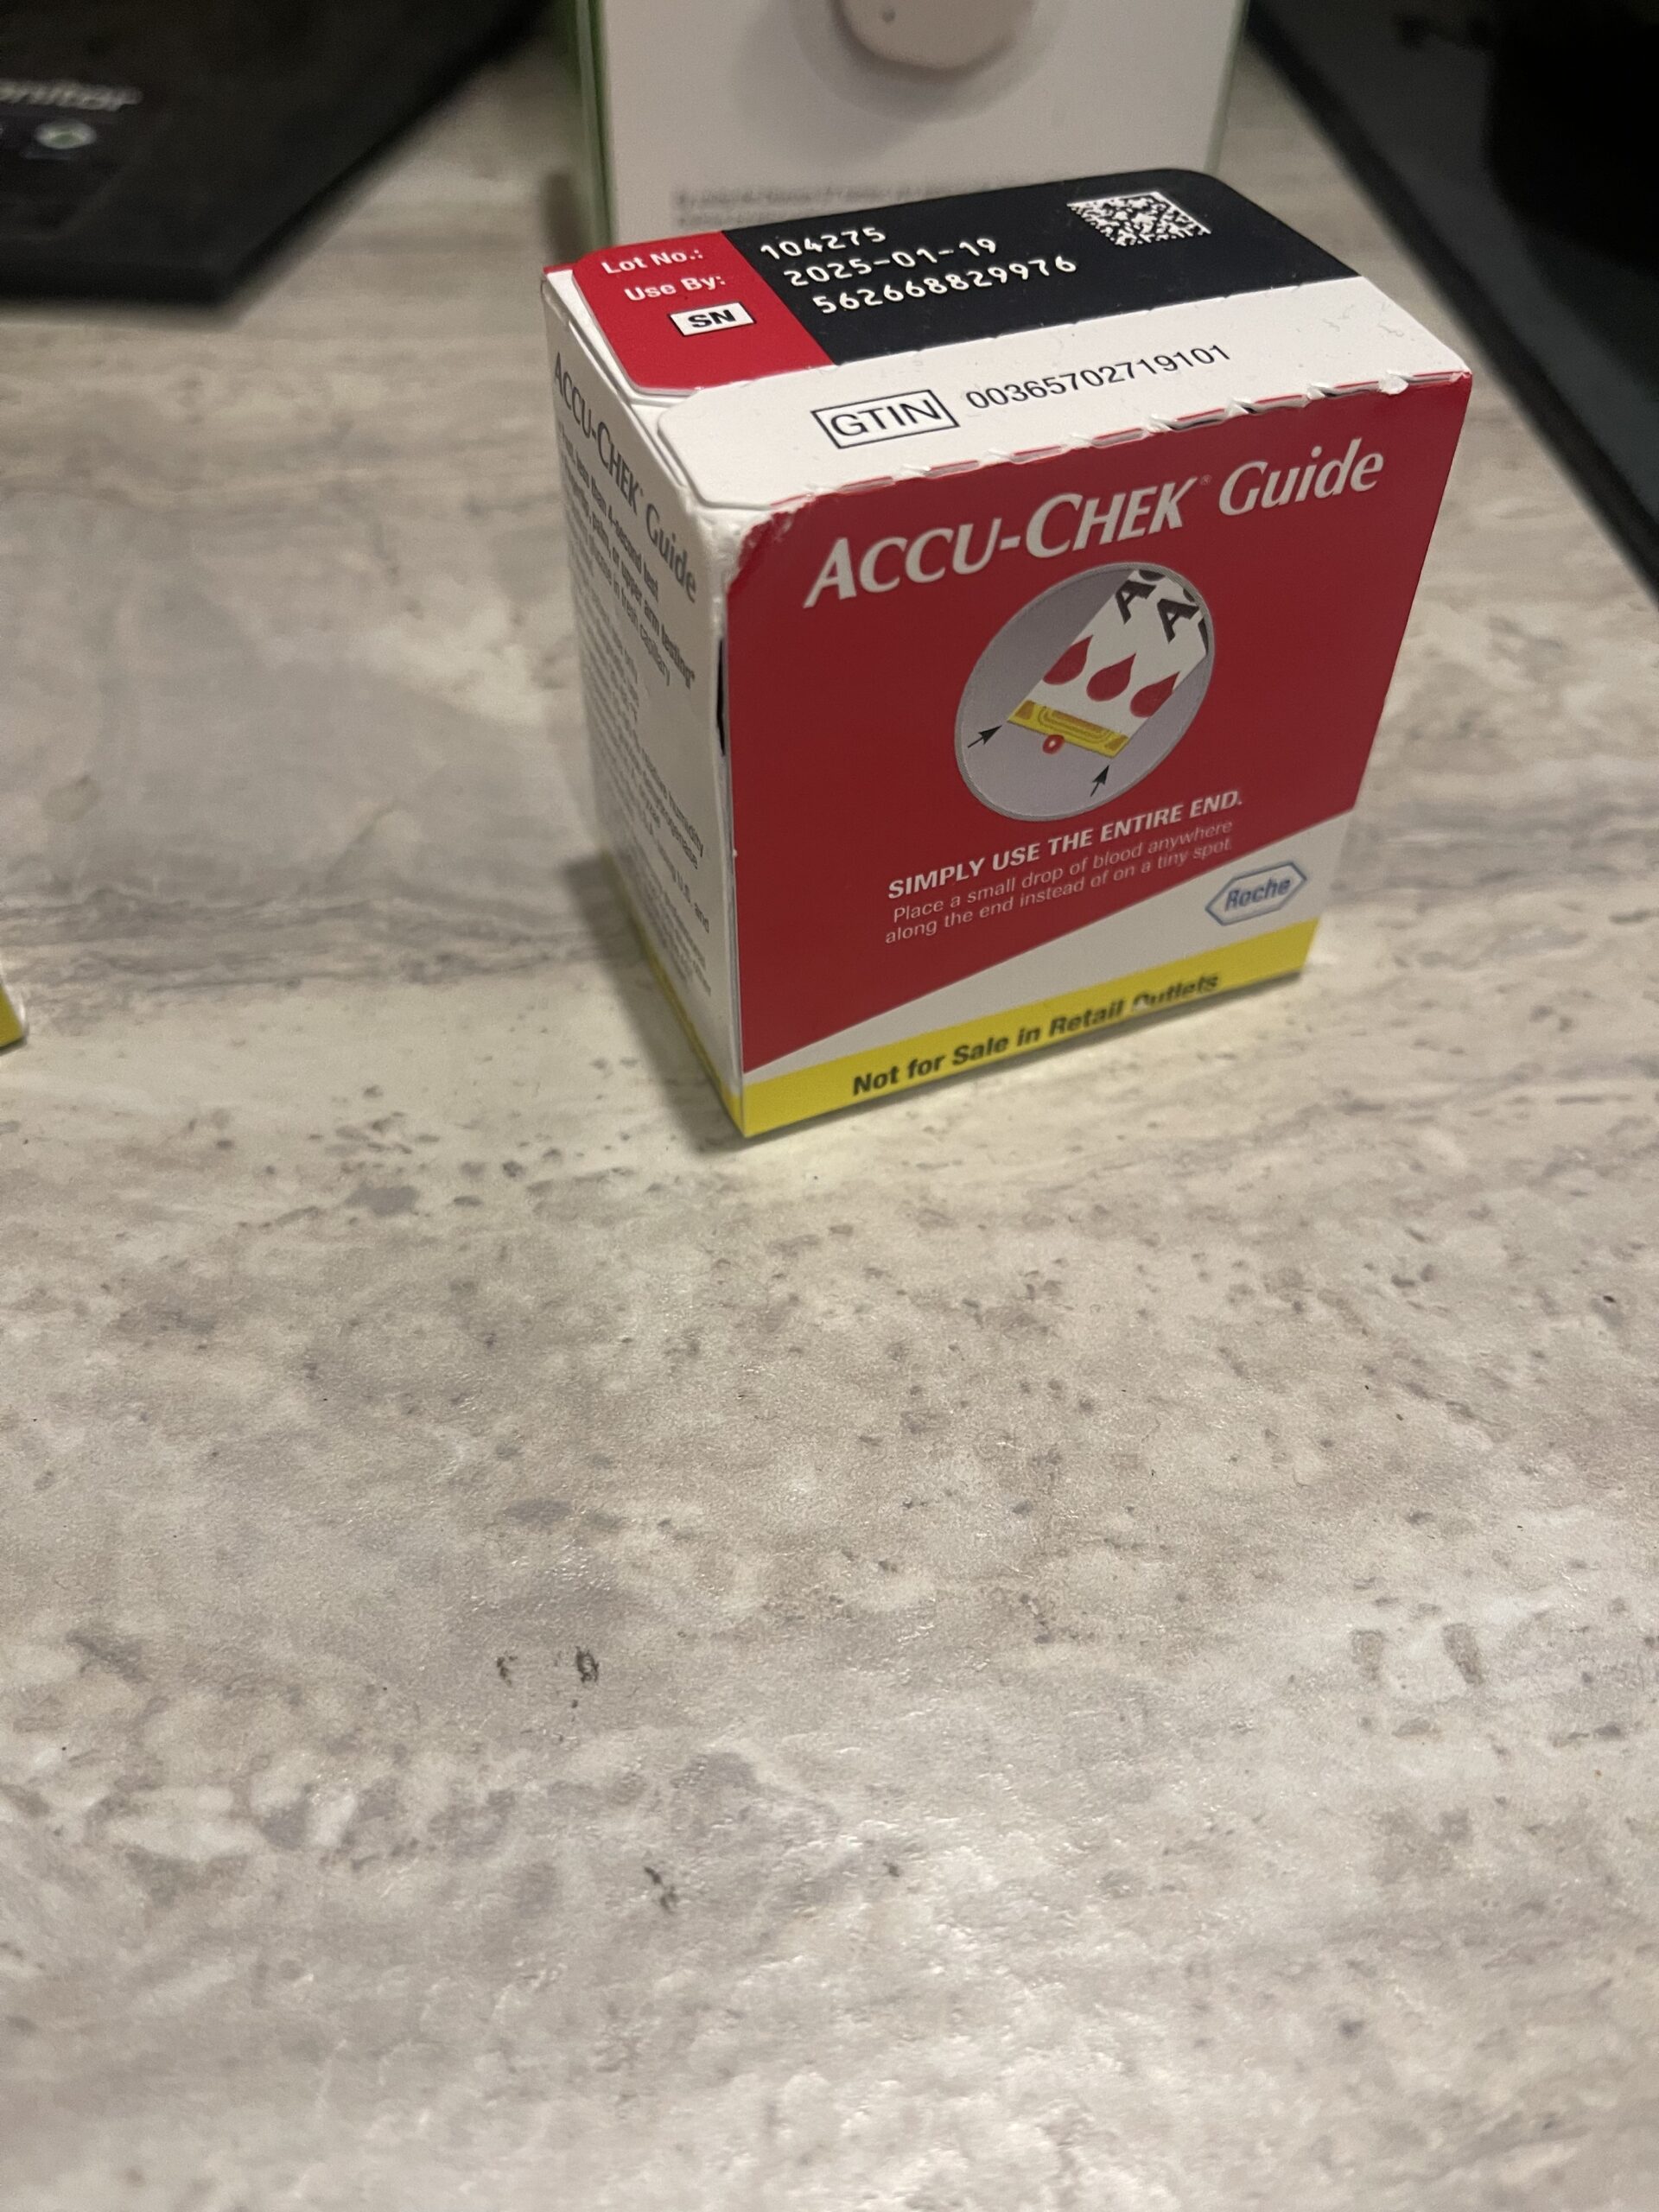
Expiration Date: Always ensure the expiration date is legible. Product Code or Number: Often found on the side or bottom of the box.Lot Number: This helps us verify the batch of the product.


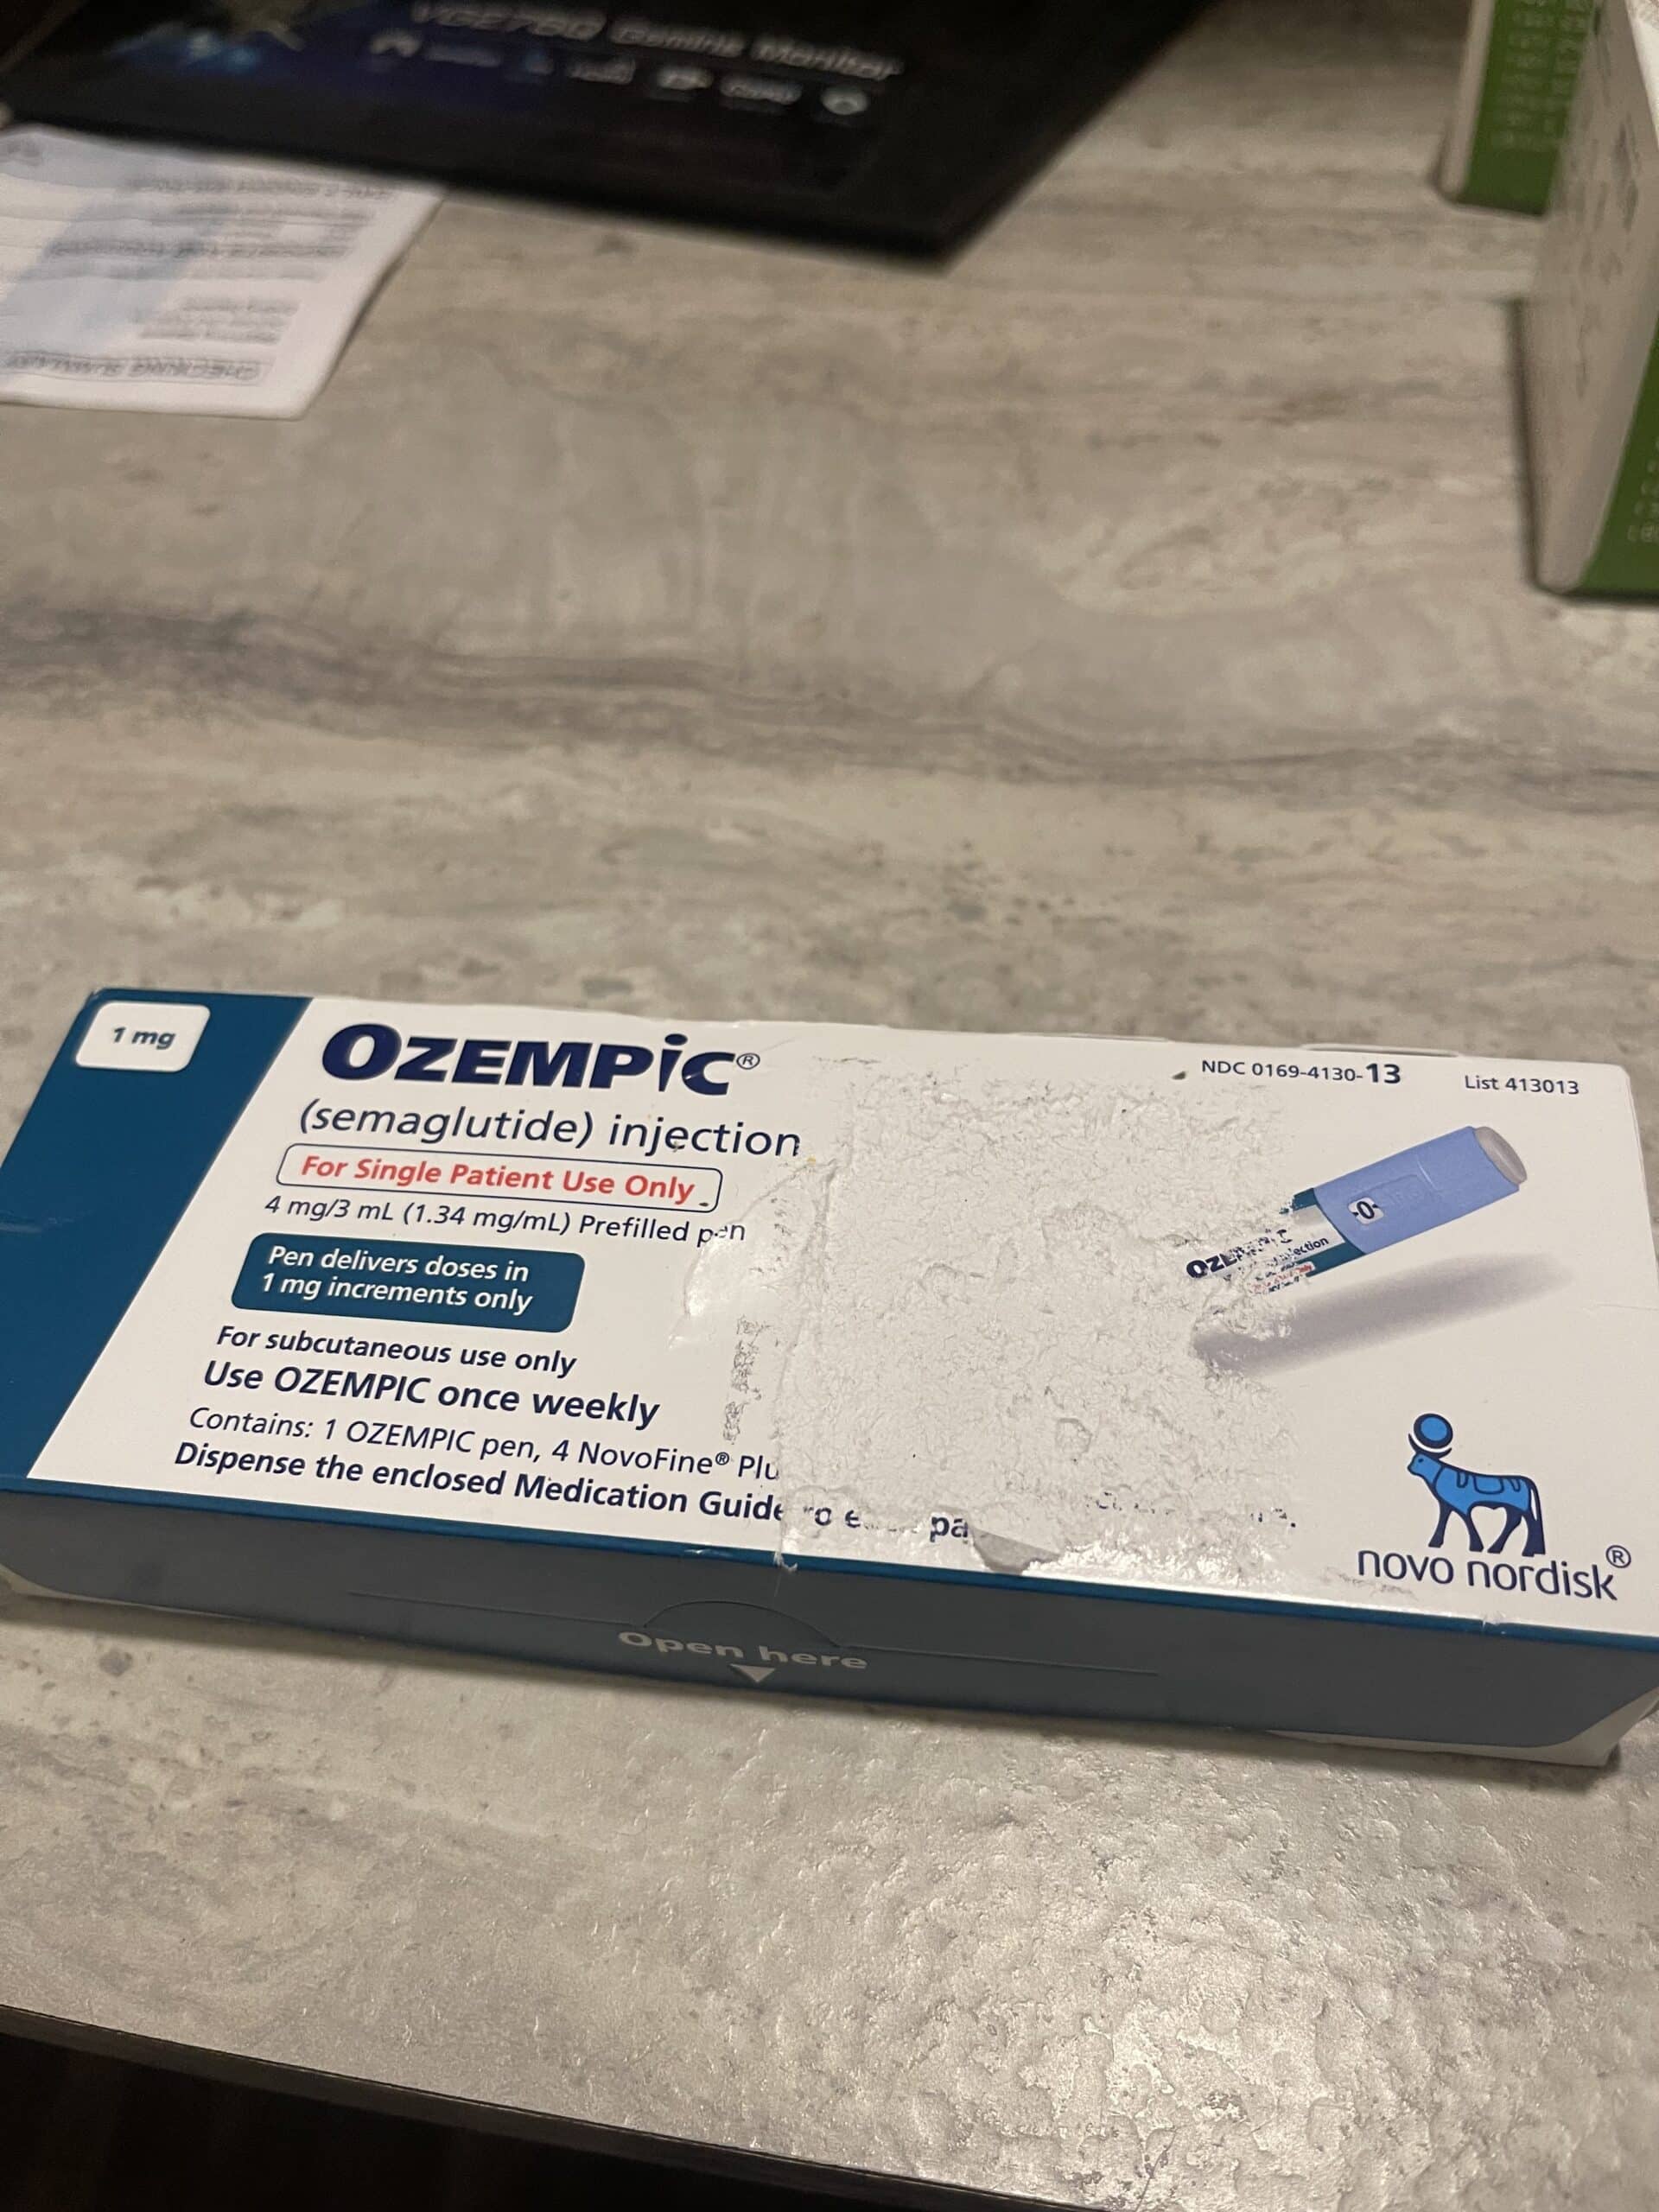
A good and bad example of product photography.
Avoid Using Flash
Flash can create reflections, especially on items with glossy packaging. Instead, opt for steady, ambient lighting.
Steady Your Camera
To avoid blurriness, keep your hands steady. Use a tripod or place your camera on a stable surface if available.
Capture Multiple Items
If you're selling multiple of the same item, lay them out side by side in one shot to indicate quantity. (If Applicable)
Review Before Sending
After photographing, review each image. Ensure all wording is readable and the overall image is sharp.
By providing clear and detailed photographs, you accelerate the review process, allowing us to evaluate and approve your items quickly. This ensures that you can swiftly turn your diabetic testing supplies into cash!
